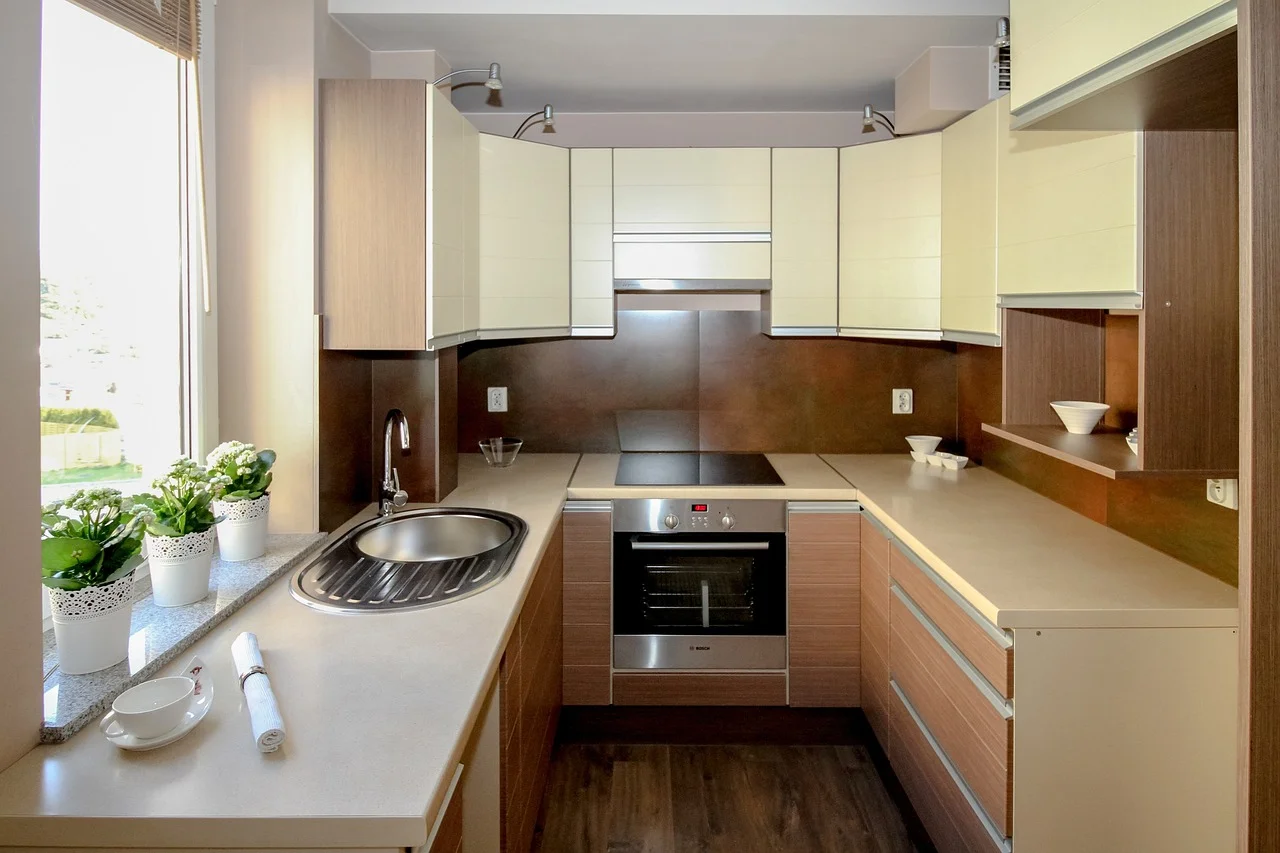
Renovating your kitchen can be an exciting and rewarding project that adds value to your home and enhances your daily living. However, it can also be a complex and time-consuming process that requires careful planning and execution. To help you, we have developed a plan for the repair of the kitchen. And it doesn’t matter if you have a new building or an old one: the procedure is almost the same.
At the very beginning, you need to decide on the project, with the desired result. And at the same time plan the sequence of repairs in the kitchen. So the process of repair work will go more smoothly and without significant overlays (temporary, financial, emotional, and others). If you skip this stage, then there is a chance to earn a lot of problems.
First Things First

An action plan is a key point of any work, Kitchen renovation is a major undertaking that requires careful planning and execution to ensure that everything is done efficiently and effectively. Here is a detailed action plan for a kitchen renovation project:
1. Estimate the Amount of Work
Before starting any renovations, determine how much money you are willing to spend. Your budget will dictate the extent of the renovation and the materials you can use. So, you need to start by thinking about what you want from the repair, and in which house you want to live.
A major overhaul will require more effort and money, but you will feel the impact for 10-15 years. If you have to finish a new building, it’s definitely a job from scratch. For some reason, builders are limited to erecting walls.
2. Create a Design Plan
Create a detailed design plan that includes the layout, color scheme, and materials to be used. You can consult with a professional designer or use online design tools to help you visualize your plans.
The ideal option is a ready-made design project, compiled by yourself or even better – with the help of a professional.
You should already have an idea of where and what equipment will be parked. This information will be needed in the next step.
3. Obtain Permits
Depending on your local regulations, you may need permits for electrical, plumbing, or structural work. Make sure to obtain any necessary permits before beginning work.
Demolition
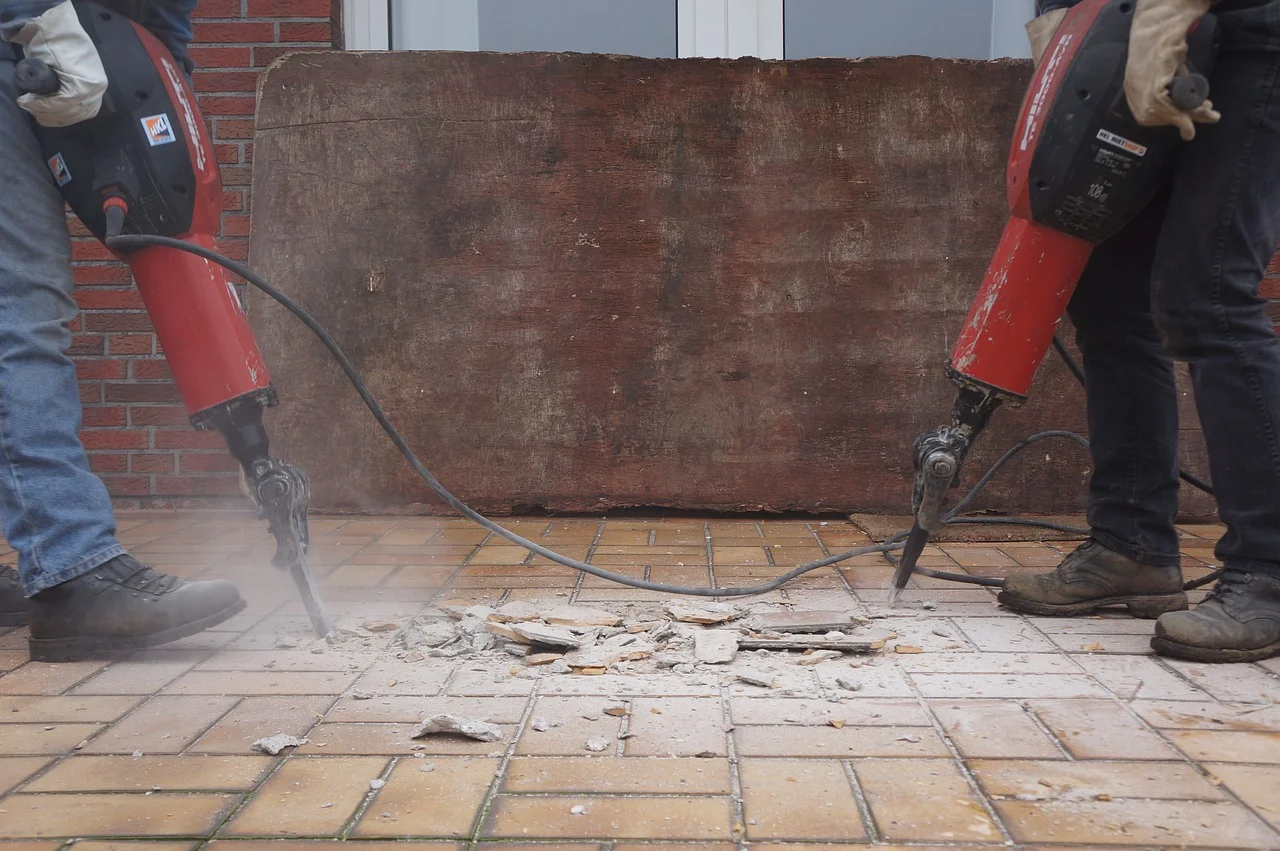
Renovation’s first step is demolition, and it is always carried out from top to bottom, so it is logical to start with the ceiling, then proceed to the walls and finish all work with the floor.
In our expert’s opinion work should be carried out according to the following principle:
1. Room Cleaning
At this stage, the kitchen should be free from furniture, household appliances, and other things. The room must be empty.
2. Dismantling Of Old Coatings
They start work, of course, from the ceiling. You need to finish this stage with a damaged floor covering;
3. Garbage Removal
All building materials from dismantling, debris, and dirt should be removed immediately so as not to clutter up the space and not create difficulties.
Construction

1. Find Inspiration and Ideas
Look online, in home improvement magazines, or visit showrooms and model homes to get inspiration for modern kitchen decor ideas. Take note of the features, finishes, and styles that appeal to you, and think about how they might work in your own space.
2. Hire a Contractor
You need to hire a construction company after the demolition under the action plan. Look for a contractor who has experience with kitchen renovations and has a portfolio of completed projects. Check references, reviews, and credentials before making your final decision.
3. Select Materials and Finishes
Choose the materials and finishes that best match your renovation goals, budget, and personal style. This may include cabinets, countertops, backsplashes, flooring, lighting, and appliances. Consider the durability, maintenance, and aesthetic appeal of each option.
4. Monitor Progress
Once you have a plan and materials in place, work with your contractor. Always stay in communication with your contractor to monitor progress, address any issues that arise, and make adjustments as needed. Be sure to schedule regular walkthroughs to ensure the work is being completed to your satisfaction.
Electrical Wiring
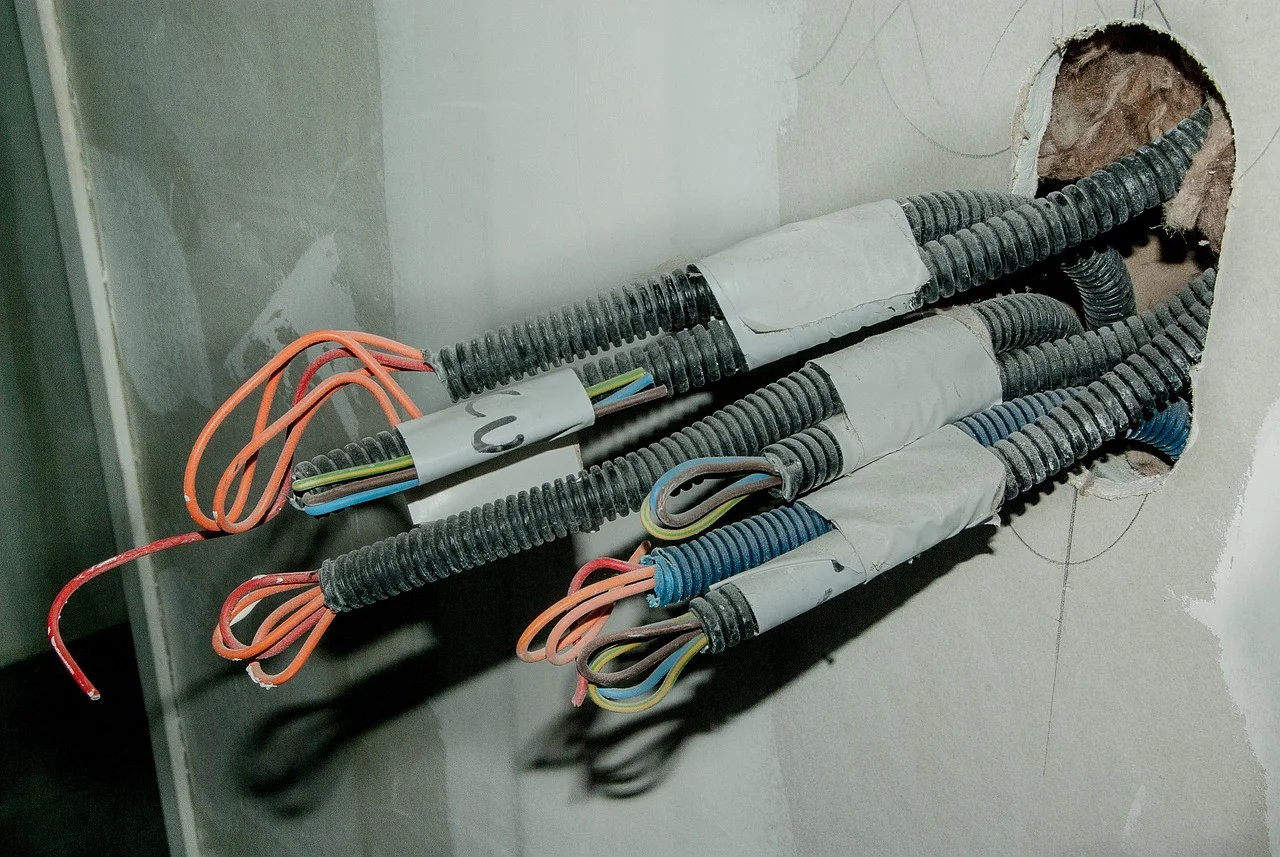
Pay special attention to the electrics. There are a lot of household appliances in our homes. The wiring must be modern, and withstand high loads. Sockets should be installed so that it is convenient to work with kitchen appliances.
It is not worth doing such work on your own unless you are a professional electrician. If you hire a competent specialist, you can save both time and money, and get high-quality electrical wiring, sockets, and lighting. Do not regret working with communications of forces and means: your safety is more important than money! Invite qualified specialists to these works.
Special Note: You have to decide where and how many sockets there will be. To do this, you should think about where the household goods will be kept. It is very important to do this in the initial stage of the work. Since it would be very difficult to add a socket at the end of the repair. In addition, it threatens to damage a fresh repair.
Sewerage and Plumbing
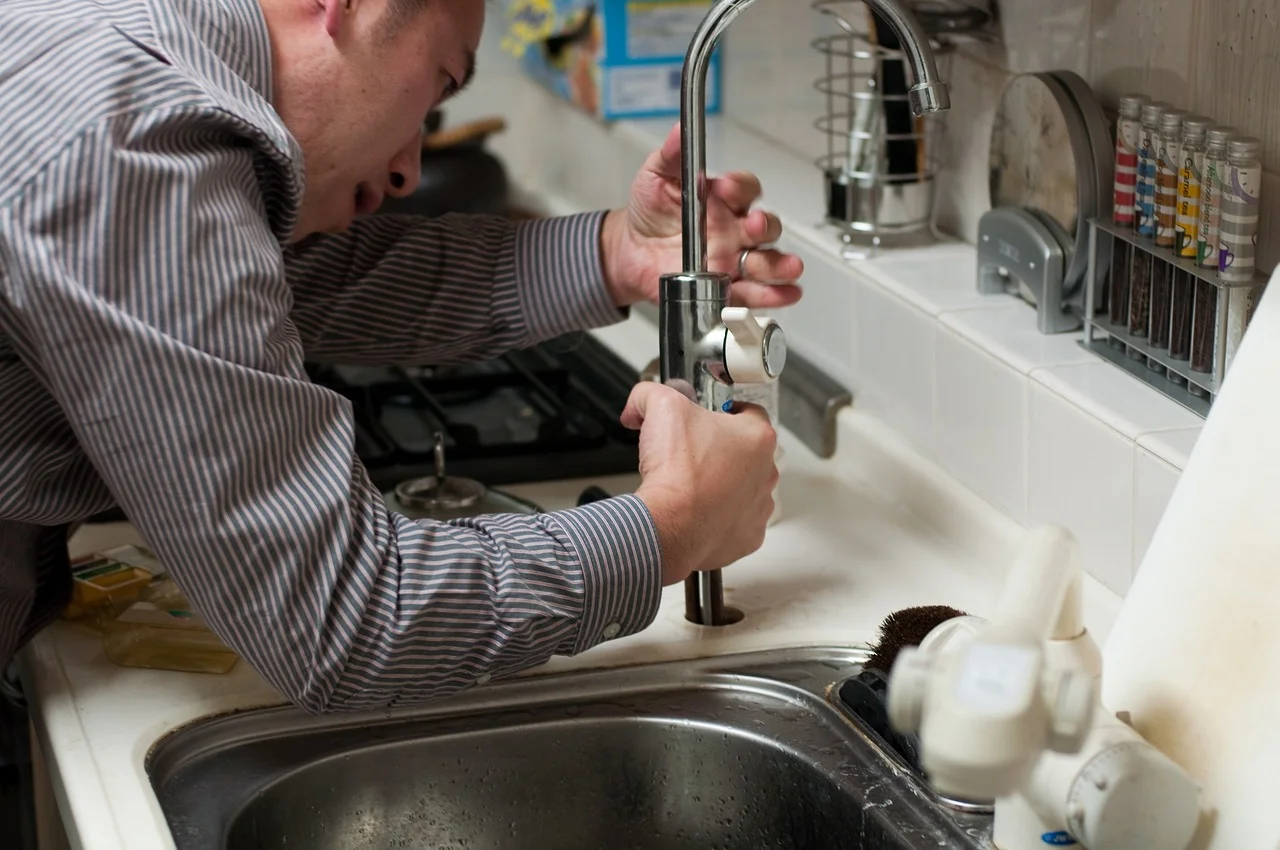
Sewer work is no less important than electrical wiring. It is very important to follow a certain sequence of actions:
- Draw a plan for distributing sewer pipes. It is necessary to note the location of pipes, slopes, and lengths.
- Immediately decide where the washing machine, sink, and dishwasher will be located.
- Make sure the old sewer system is reliable, and clean if necessary.
- The system is laid out on the floor and connected.
- Immediately it is worth connecting the sink.
Special Note: All joints should be checked for leaks and re-sealed if necessary. Hire a licensed professional to complete the work because a minor seepage can destroy your whole hard work.
Ceiling
The ceiling is usually just painted or a modern stretch ceiling is installed. There are other options, for example, a multi-level plasterboard ceiling, and others. In any case, the ceiling is repaired first, and then they move on to the walls.
Flooring
Install the new flooring, whether it is tile, hardwood, or another type of material. Make sure to let the flooring acclimate to the room’s temperature and humidity for several days before installation.
Wall Painting
Before starting work, the walls must be properly prepared. If the old coating is removed, then it’s time to cover up the pits and cracks and level the walls, if necessary. After drying, the walls need to be primed. Primers will make the surface of the wall stronger, as well as improve the adhesion properties with the facing material.
After the primer has completely dried, the surface of the walls is puttied with a finishing putty with fine grains. The walls need to be dried again. After complete drying, the walls are treated with sandpaper (sand) and again treated with a primer.
After everything dries, the walls can be decorated with any chosen material, brought to its logical conclusion.
Install Cabinets and Countertops
Cabinets play a big role in the overall look and feel of a kitchen. Consider installing flat-panel, high-gloss cabinets in a neutral color like white or gray. Sleek stainless steel handles or knobs will add a modern touch. For more detail check modern cabinet ideas.
Install new cabinets and countertops. If you are working with a contractor, make sure they measure the space accurately to ensure a proper fit.
Final Words
By following these steps, you can start a successful kitchen renovation that meets your needs, budget, and personal style. With careful planning and execution, your new kitchen can be a source of enjoyment and pride for years to come.
Once the renovation is complete, take time to enjoy your new kitchen and all the benefits it provides. Invite friends and family over to celebrate and share in the excitement of your new space.
 SlushWeb Live the Way You Love
